|
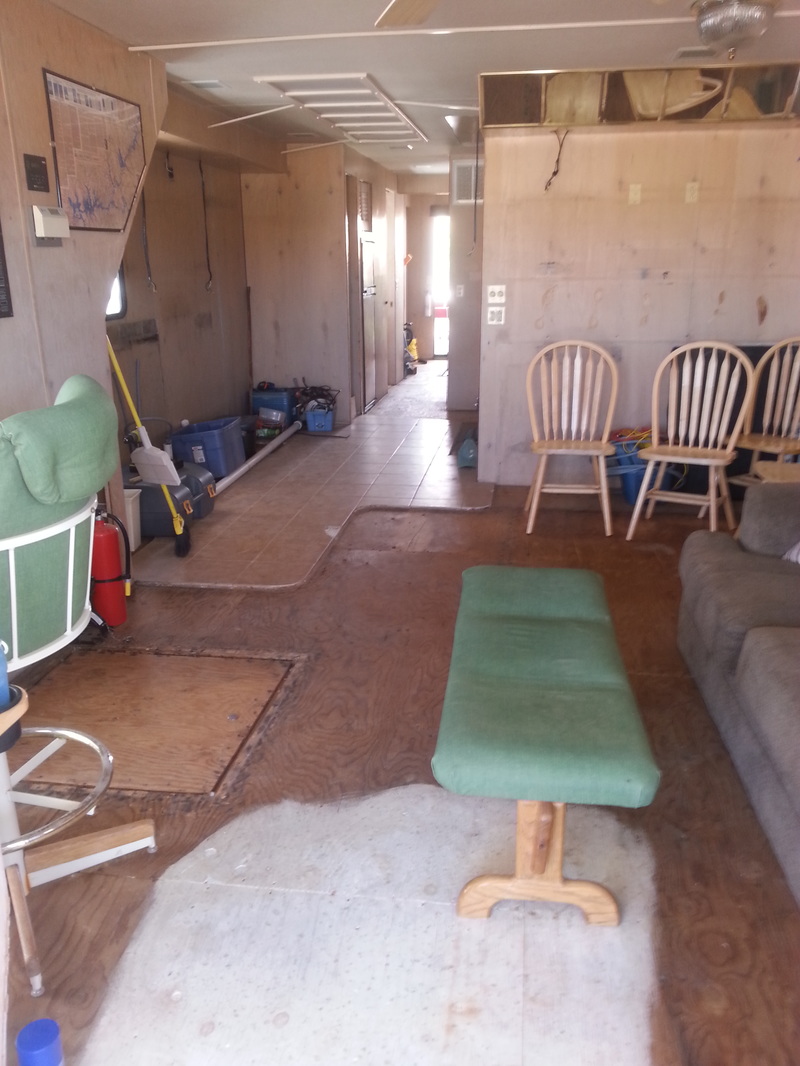
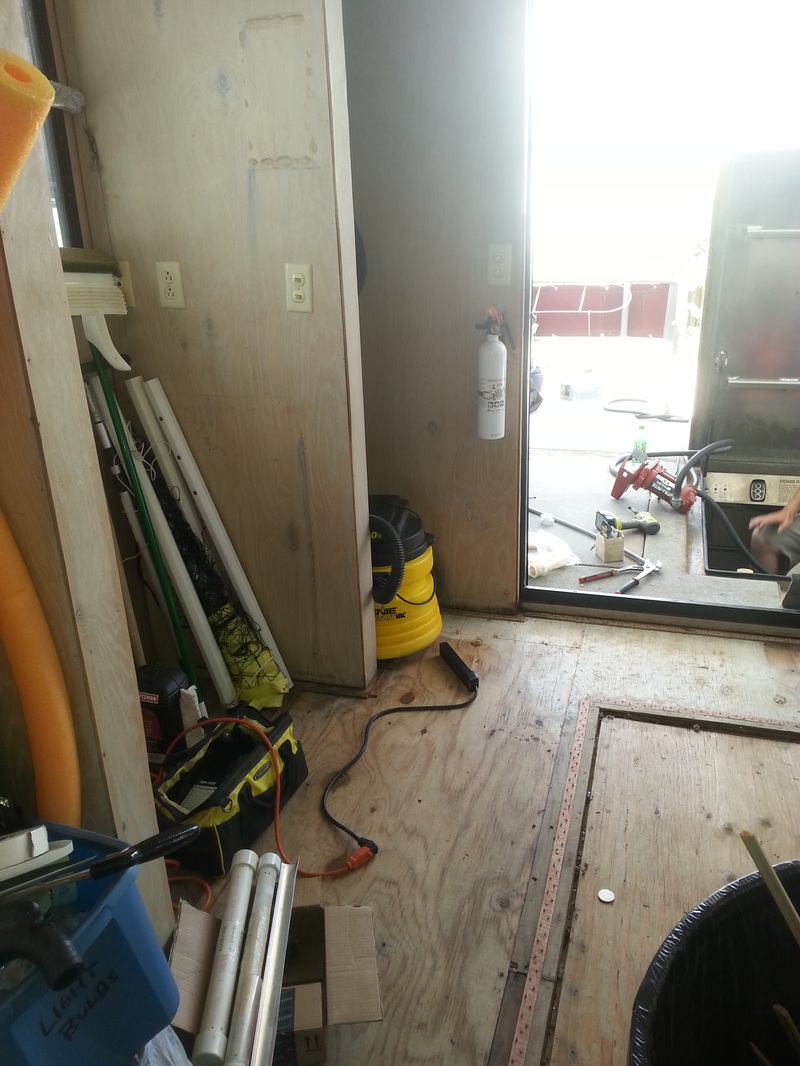
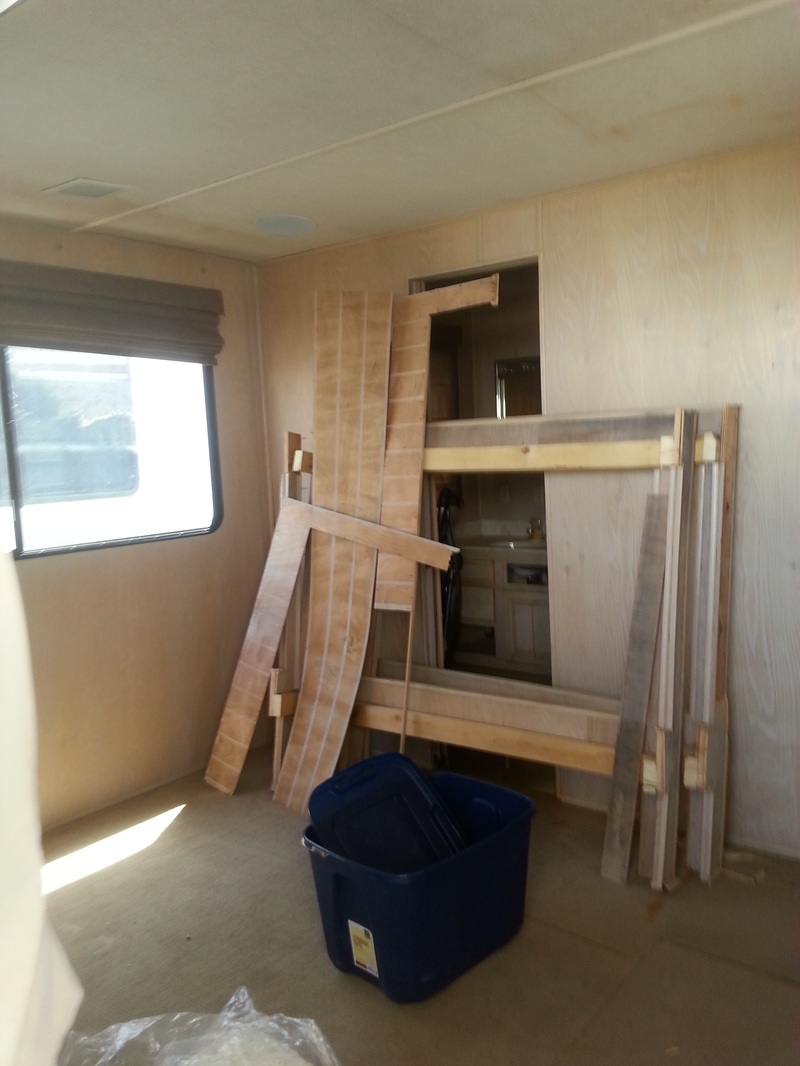
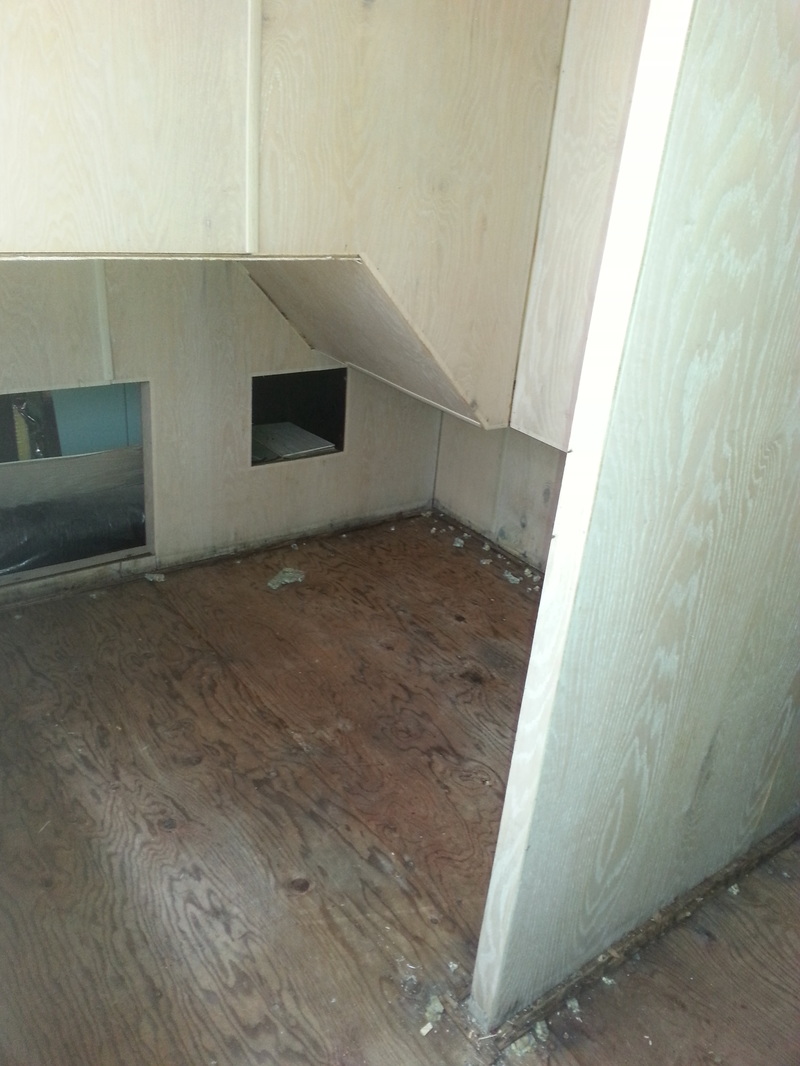
They say it’s what’s on the inside that counts and, in the Serenity’s case, she was as ugly on the inside as she was outside. So we ripped out her guts and replaced them with new shiny guts. If nothing else, you will get a lesson in nautical terminology and will get an idea of what my first few weeks on a ship were like; “it’s not a door, it’s a hatchway FNG….there are no stairs on a ship, Butter Bars, they’re called ladder-ways…it’s a head, if you want to use the toilet, swim to shore.” Ah, good times. As you can see from the previous photos, the interior of Serenity needed some serious help. It was a time-warp back to the mid-90s with its pickled oak, brass fixtures, and white appliances. Oh yeah, and it was underwater for a few days and seemed a little worse for the wear. I really was shocked by how much water damage there was and how much was not salvageable. The finish on cabinets and walls was peeling, plywood paneling was delaminating and bowing, cabinets were literally coming apart at the seams, the doors were falling apart, and everything was coated in an oily, sandy grime. It wasn’t a place that you wanted to spend a lot of time. And did I mention the style was straight out of the mid-90s. By the time we were done about the only thing that remained original were the overheads (that’s the ceiling for you lubberly types, on a ship a ceiling is something you stand on and the thing over your head is, well, an overhead). First came demolition. We hauled off the water damaged furniture, broke out probably 500-pounds of granite tile countertops, demoed the cabinets, pulled up carpeting, took out the doors, removed damaged paneling, and got rid of the appliances. Then we made our first tactical error; I had been thinking of keeping the tile in the galley (that’s kitchen), but my dad noted that they had installed it around the cabinets and that our new cabinets wouldn’t fit the holes. He also pointed out that the tile didn’t really fit the planned new décor, which I agreed with and agreed to tearing it out. About three days later we realized that someone was really good at laying tile; they had set down 1/8-in cement backer board with mastic, screwing it down every 6-in or so, and then put a generous amount of thinset down to lay the ceramic tile. We had broken up all the tile with roto-hammers, but the backer board did not want to let go and we finally came to the realization that the only way we were going to get the floor out was to tear out and replace the plywood subfloor. It took another couple days to clean up the edges enough to use our circular saw to cut out that section and pry it up.
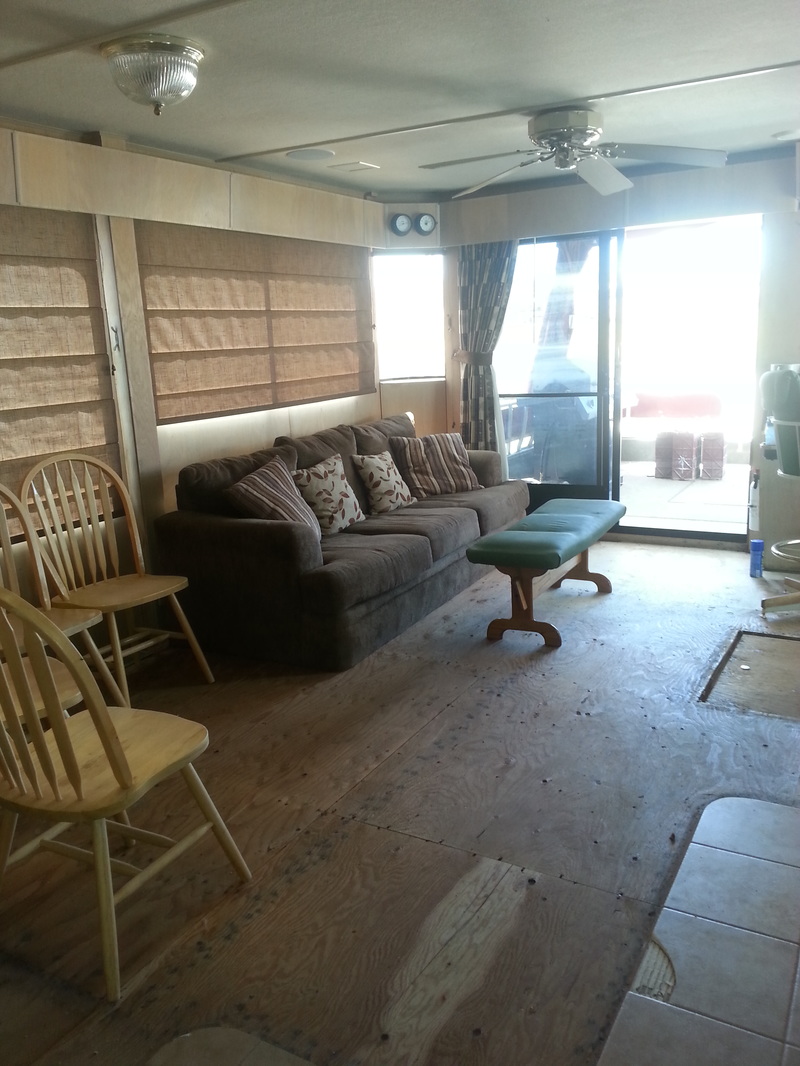
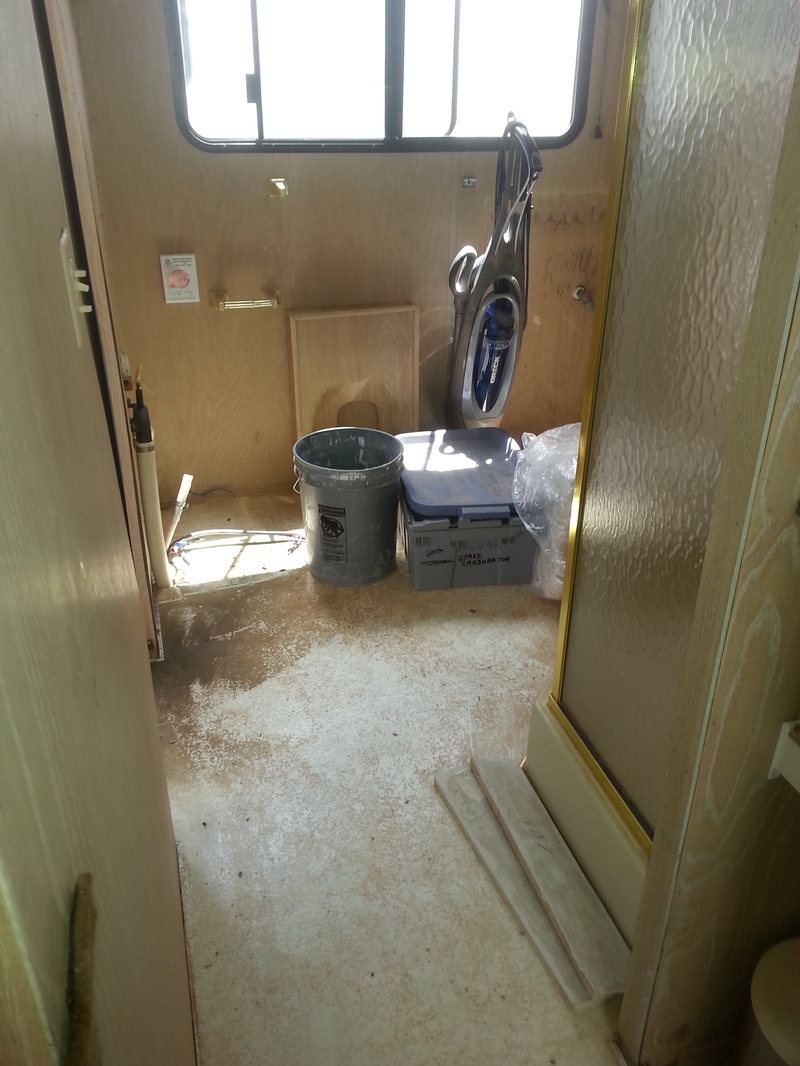
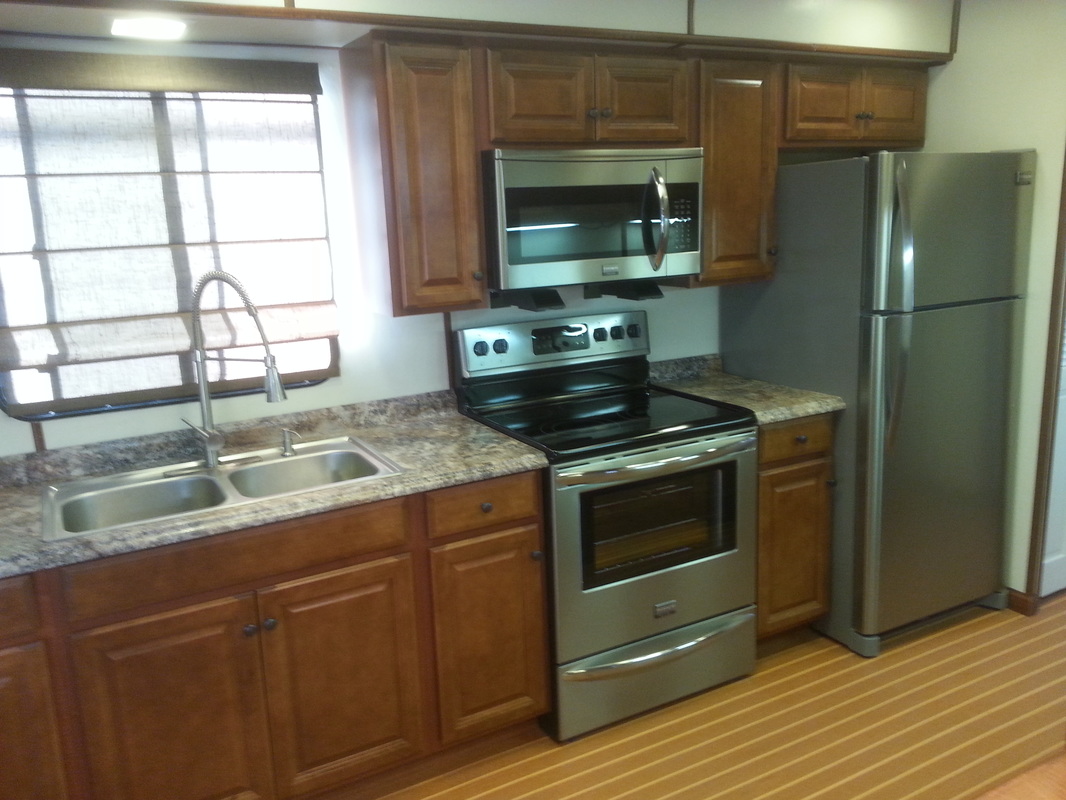
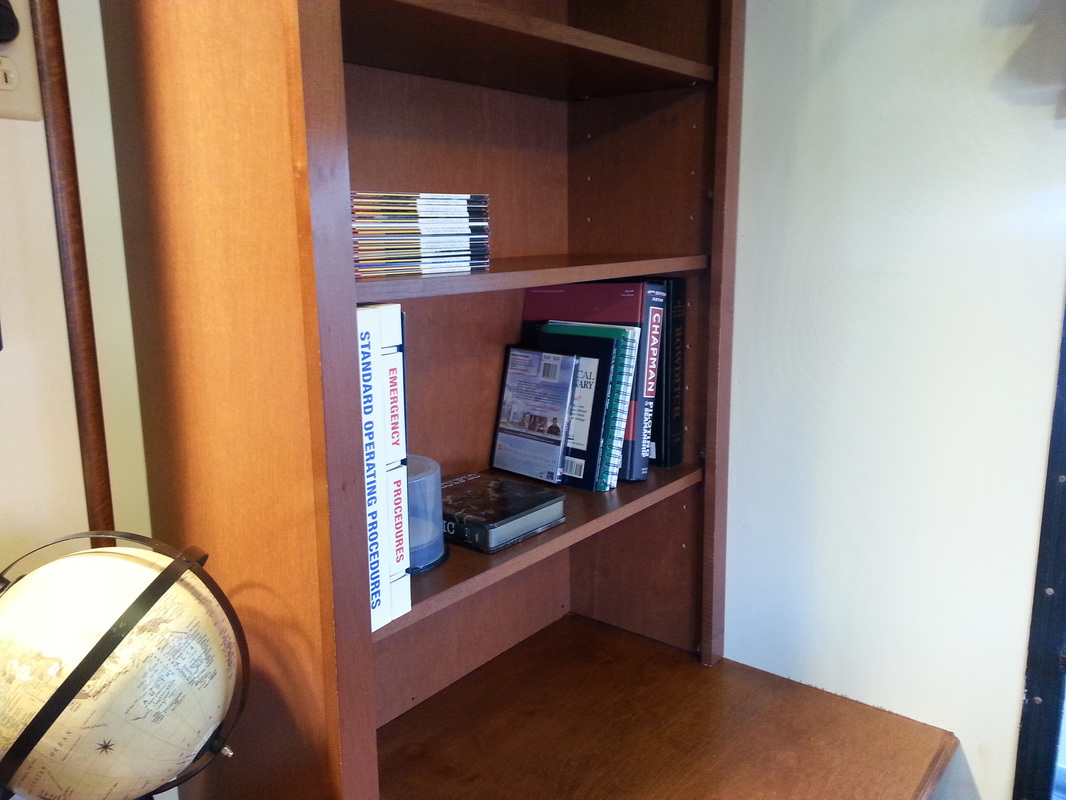
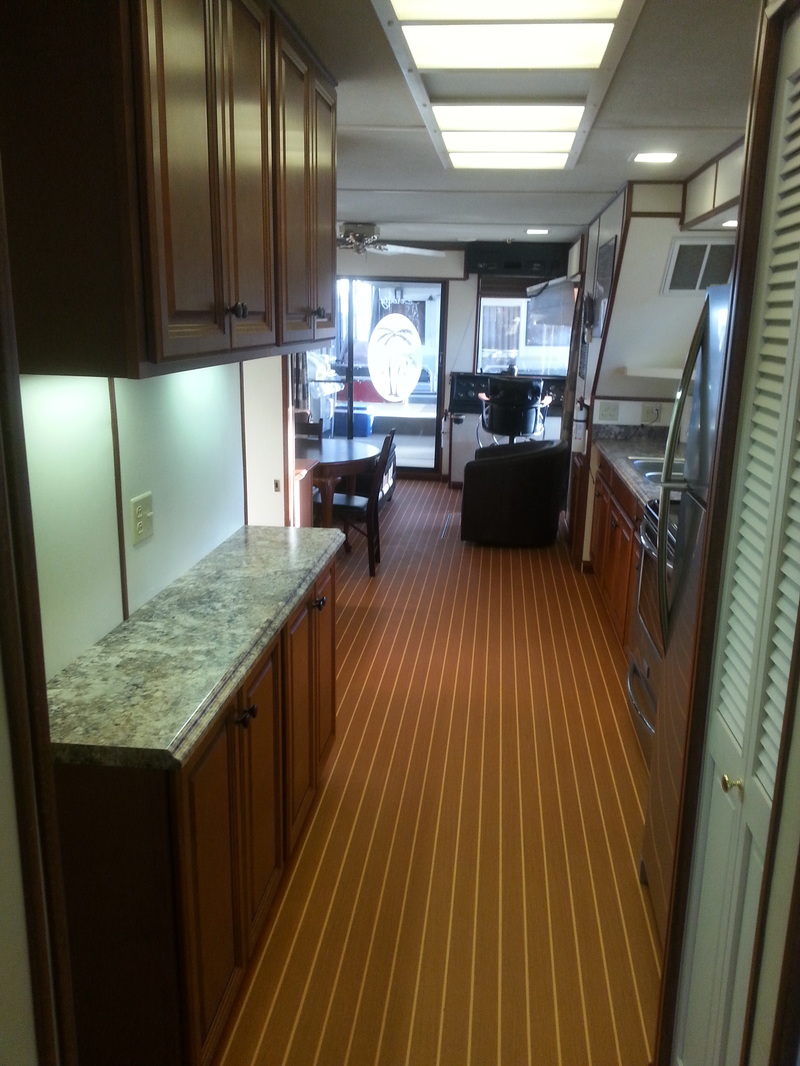
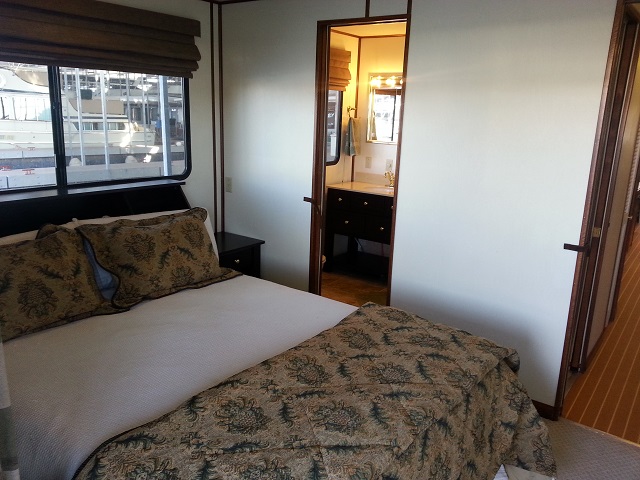
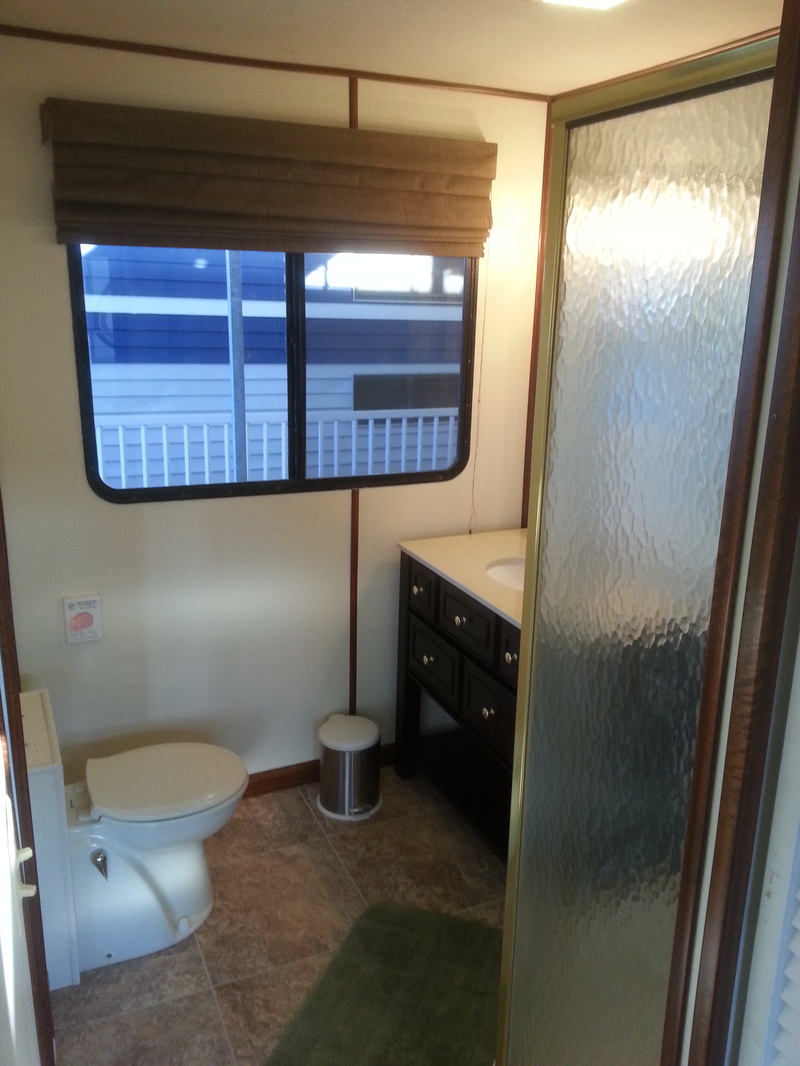
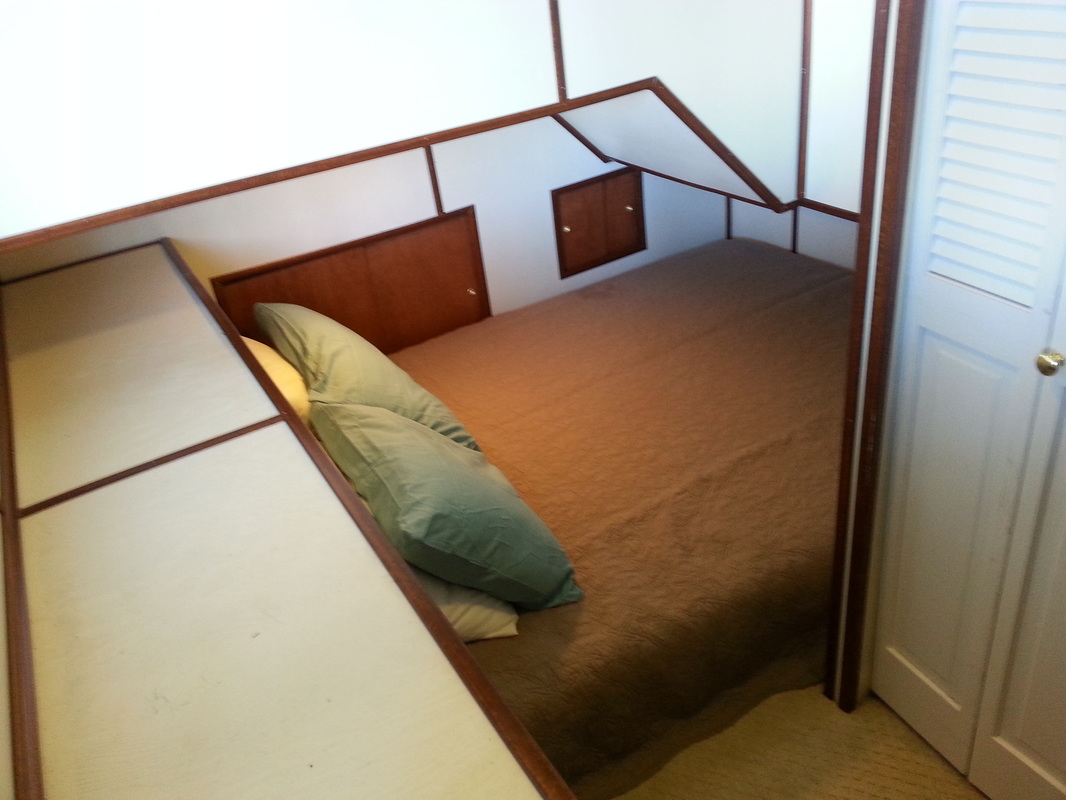
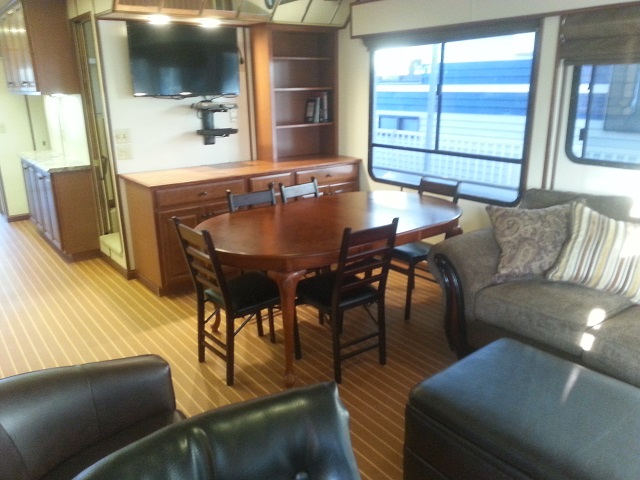
We then replaced the flooring with exterior grade plywood, which was rather straight forward…except for actually selecting the plywood for use. It is an interior area and for the most part is fastened to wood structure, but there are several aluminum deck beams that the decking material would be in contact with; why is this a problem you ask? Believe it or not, the internet is on fire with debate about what wood products to use on aluminum boats, but I have yet to find any authoritative sources on the subject. Without wading into the discussion too far myself, I think what I can take away from my hours of research is: (1) I should find a new hobby. (2) You should avoid using pressure treated lumber in contact with aluminum, because of the potential for increased corrosion in the aluminum due to the chemicals in the pressure treated lumber (I could elaborate, but...). (3) For areas that will not see excessive amounts of moisture, you can safely substitute exterior grade plywood for marine grade plywood; the chief difference is that that marine grade plywood should have no voids in the interior laminate layers to prevent trapped moisture from causing rot and it may have more layers. Since this floor was interior, it was more than reasonable to just go with the exterior grade plywood. With the easy part over, it was now time to put this mess back together. We started out with repairing and replacing damaged paneling; luckily we only found slight surface mold on some of the panels, with some significant bowing and peeling of the veneer. There were happily no signs of mold behind the panels that we removed and we gave everything a nice wash-down with Lysol. Once the paneling and subfloors were done, we sanded everything down and were able to quickly move on to painting. The original paneling was a pickled oak that was popular in the early 90s, but seemed a little dated. I decided to go for a more classical yacht motif and paint the bulkheads (that’s walls) an antique white with plans for mahogany or teak (at least something that resembled one of those woods) trim throughout. The paint went on smoothly; the trim on the other hand turned into I can't count how many days of endless fiddling with angles and lengths and trimming them…I really hate finish carpentry. While I started out with delusions of saving the old cabinets, it didn’t take long on our first trip back down there to realize that they were completely water logged and well beyond saving. The finish was peeling, most of the doors were warped, and a lot of the frames were starting to come apart. I went with solid wood cabinets with boxes made out of plywood instead of particle board. They might be slightly more expensive in the initial purchase price, but they are far more durable and will hold up in a marine environment much better in the long run. I also opted for the soft close doors and drawers. We hung the cabinets and installed new laminate countertops; I used laminate countertops for two reasons, (1) the extra weight of a solid surface countertop would have kept me up at night, and (2) there wasn’t a fabricator that I could find that would go down to Bullfrog to install a solid surface countertop. Also, I should point out that I would normally wait to install cabinets until after the flooring was down, but in this case, with our time limited down in Bullfrog, I didn’t want it to hold up progress; we had contracted out the flooring and, as I discovered with everything I contracted out, things take a lot longer to get done down at Lake Powell. Long before I purchased this houseboat I had fallen in love with this vinyl flooring produced by Lonseal that mimics the look of teak and holly sole. I love the look of teak and holly and nothing is more nautical than a cabin sole covered from stem to stern in teak and holly. I was not as in love with the price, the installation, or the upkeep of traditional teak and holly flooring. Luckily, several years ago they started producing exterior synthetic teak flooring (PlasTeak, NuTeak, and a variety of others) and a little more recently there were companies that began producing the vinyl sheet flooring that reproduced the look of teak and holly with all the benefits of a commercial vinyl floor. The Lonseal isn’t cheap by any means (the 300-sqft I purchased was around $2500 and the adhesive added a couple hundred), but it is durable commercial grade vinyl. The vinyl surface is designed for high traffic commercial area, completely waterproof, slip resistant, and UV stable; in short it should outlast the boat. Without taking a long hard look at it, you also wouldn’t easily be able to pick it out from a real teak and holly flooring. I opted to lay this vinyl flooring in the main salon (living room), galley (kitchen), and passageway (hallway, though that one should be obvious); not only does it look great, it also won’t trap sand that will inevitably be tracked aboard and cleans up easily with a broom and mop. The heads (that’s restrooms) were tiled in a Stain-master “Luxury” vinyl tile, which went down over a latex primer on the plywood deck. I did contemplate installing real tile, but there is something that is just un-seamanlike about putting extra weight on a boat; I figured if the vinyl tile doesn’t hold up I can always replace it in the future. The staterooms (that’s bedrooms) were finished off with Stain-master carpeting. I contracted out the Lonseal and carpet installation, but tackled the heads on my own.
The old hollow core doors were in sorry shape and clearly needed to be replaced. I purchased traditional mahogany hollow core doors, stained and varnished them and then replaced the door hardware before hanging. The fixtures throughout went brass; I know many will think that dated, but brass was and is common on vessels for its superior performance in a marine environment…I can recall many an anchor watches as a new ensign spent polishing all the brass work on the bridge. Brass just fits with a traditional yacht décor. The exception would be the galley where I went with a stainless steel sink, stainless steel appliances, stainless steel faucet, and oil rubbed bronze (black) door and drawer pulls for the cabinets throughout. The last thing we had to do was to take a steam cleaner to the overhead to clean up some staining; then we just had to move in new furniture to complete my vision of a traditional yacht interior…if only doing it was as easy as writing about it.
Until next time, here’s wishing you fair winds and following seas.
1 Comment
3/9/2024 02:42:17
Dabi's burns aren't scars. They are skin grafts, which is a type of graft surgery that involves the transplantation of skin. The transplanted tissue is called a skin graft. That's why they are different colors than Todoroki and Zuko's burns, which are just scars from healed-ish burns. Leave a Reply. |
AuthorBrent Pounds has over a decade of experience in the maritime industry and has been involved in recreations boating since he was a child. See the About section for more detailed information. Archives
October 2016
Categories
All
|

 RSS Feed