|
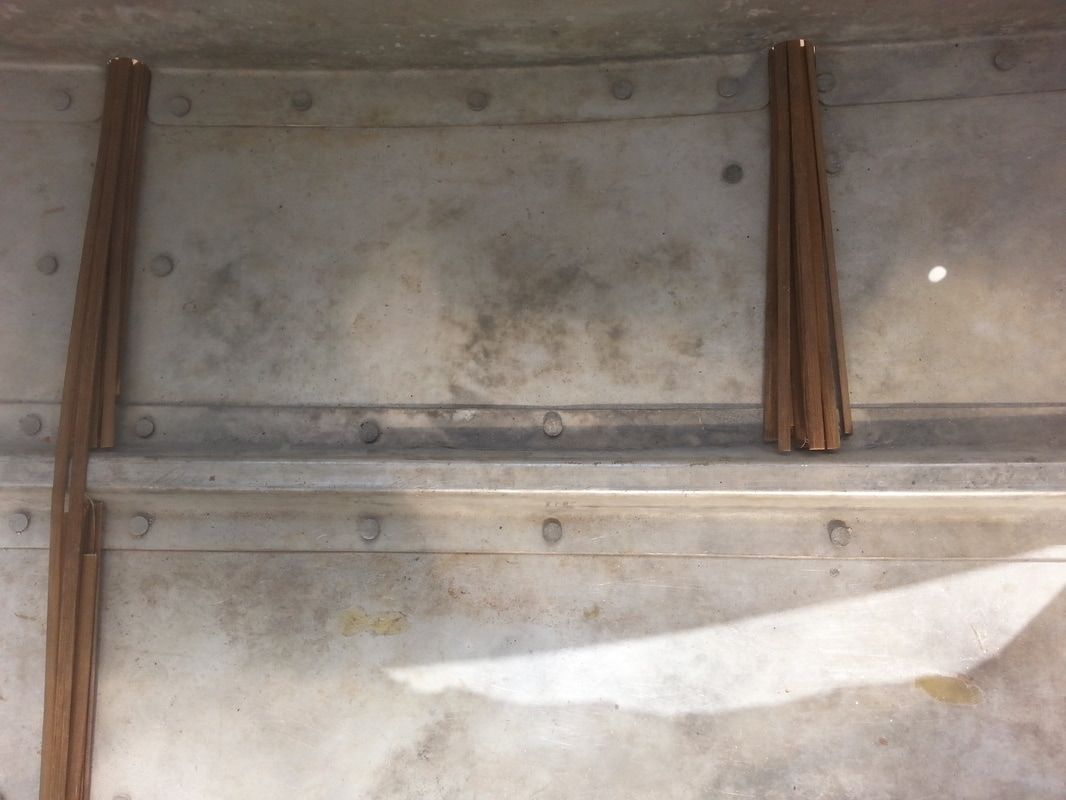
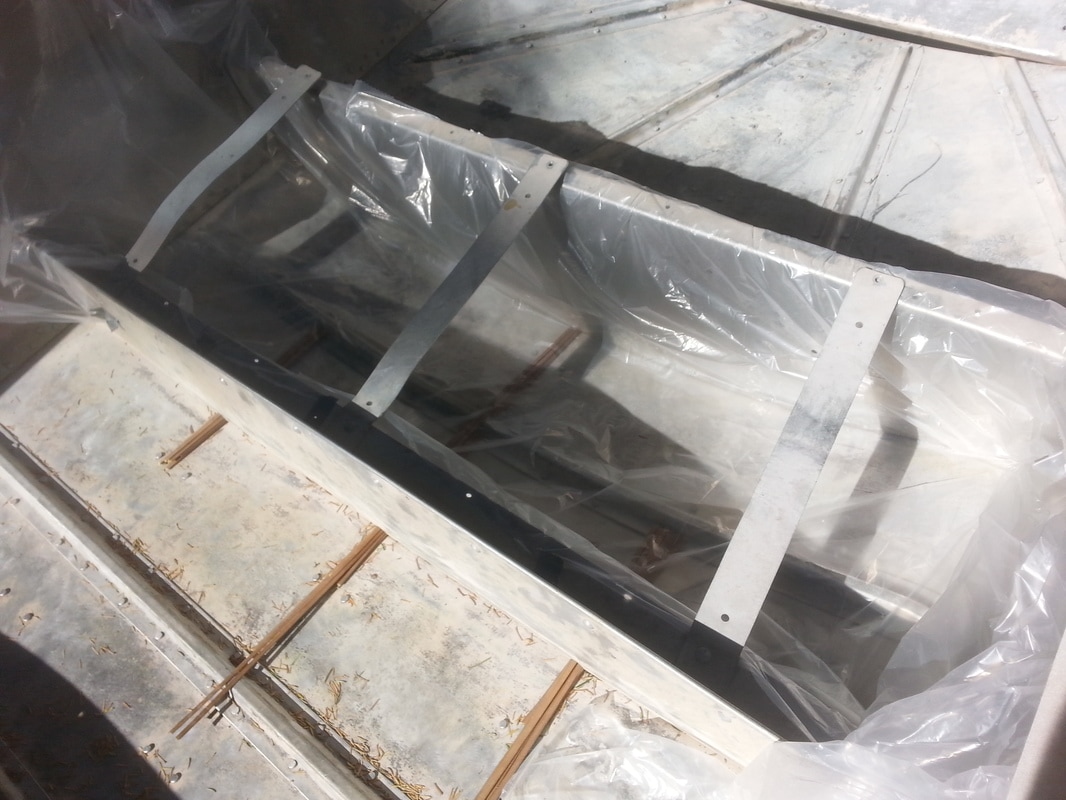
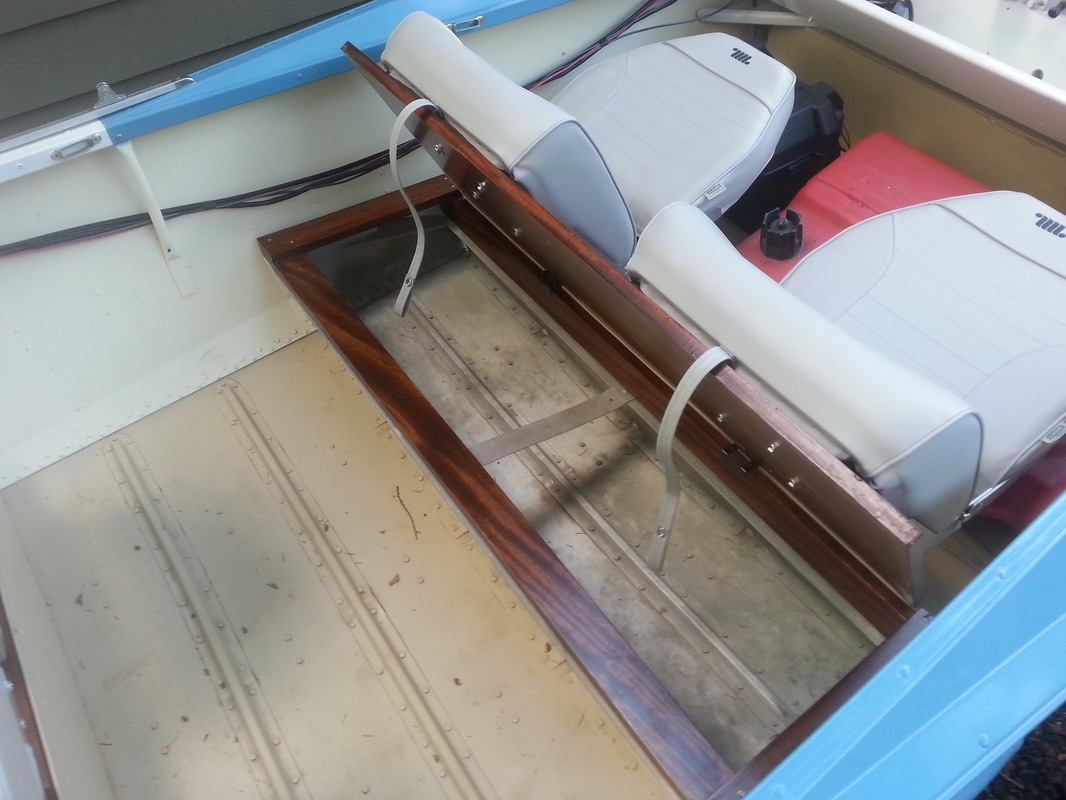
When my uncle’s friend, Paul, showed up at his small private airfield in Eastern Colorado he was interested in a large box of parts on the ground in the hanger. My uncle’s cavalier response was that he had just rebuilt the upper end of the engine on his Cessna 175 and those were the left over parts he didn’t know what to do with. Paul didn’t find that particularly amusing as he was there to do my uncle’s Biannual Flight Review (BFR) and was about to go up in said aircraft. Truthfully, he had just replaced the cylinders and the box was old parts that he was discarding; he is one of the best mechanics I know and helped me and my dad rebuild my first engine (an old in-line 6-cylinder Mercury 115-HP outboard). Never the less, things always come apart a lot easier than they go back together and after finishing up the paint work I was ready to start piecing my boat shaped puzzle back together…hopefully without too many spare parts.  Prior to painting out the interior, I first tackled replacing the flotation foam. The polystyrene floatation that was concealed in the nose and the bench seats was in a sorry state with rodent nests and severe degradation from sitting out in the elements for nearly 50-years. So I cleaned it out and got to the business of replacing it. There are any number of different types of foam to choose from; polystyrene, polyethylene, polyurethane, polyisocyanurate, and polypropylene, just to name a few. Rather than going into detail on determining the right type or necessary amount to keep your vessel afloat in this post, I think I will ave that for another post. I ended up using a combination of poured polyurethane and some rigid polystyrene. The foam in the nose was held in with aluminum strips that were riveted in place; I just drilled out the rivets on one side, slid the old foam out, slid the replacement foam in and put in some new pop rivets. I wanted to remove the foam in the back bench and move it closer to the transom; given the weight of the outboard, I thought more flotation at the heaviest part of the boat would be a good idea. Also, I was hoping to use the back bench for storage. I was able to get a little over 1-cuft of foam glued under the transom well with polyurethane glue. I would have liked more, but I just couldn’t figure out a good arrangement to get more foam at the transom without major modification. I guess if it ever sinks, it's going to float down by the stern. 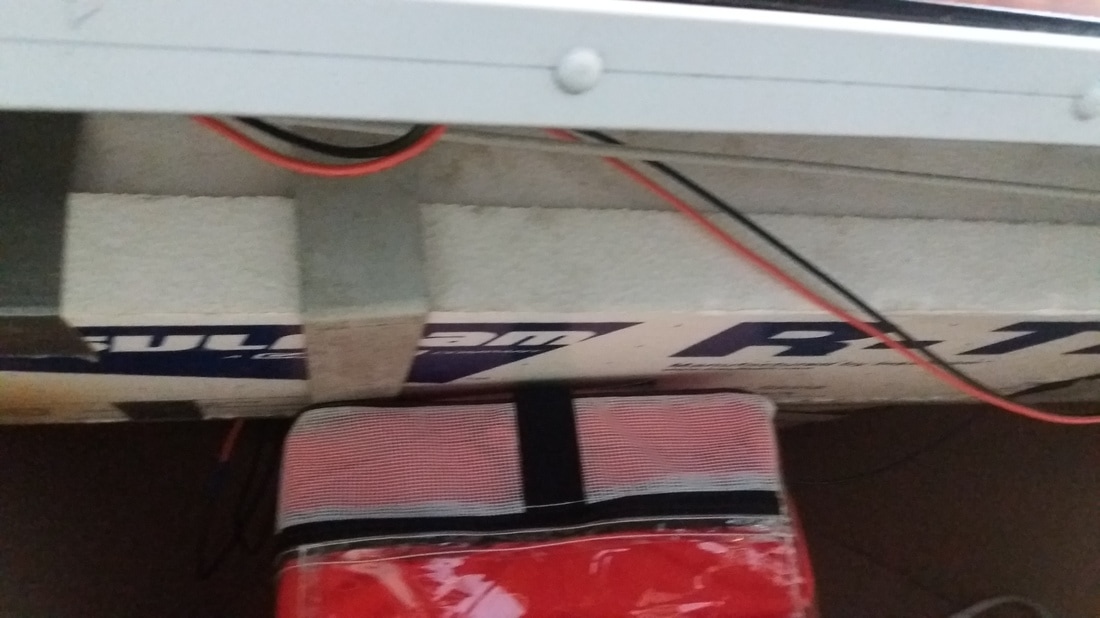 On the front bench, I decided to go with a poured liquid urethane foam. My first attempt didn’t turn out so well; I failed to read the product literature completely. The foam I have used in the past has a shelf life of 1-year prior to being opened, but the brand I purchased for this project, FGCI, only has a shelf life of 6-months and apparently they mean it. I purchased the foam about 8-months before trying to pour the bench full, since Amazon had a sale and I figured that I would use it before the end of the summer. Anyway, I poured a gallon, which should yield 4-cuft, enough to fill the front bench with a little overflow, but only got about 1-cuft of dense "foam." Luckily, I had lined the bench with plastic sheeting (disposable table cloth) to contain it and that made removal of the failed pour a snap (just pulled it out and put it in the trash). 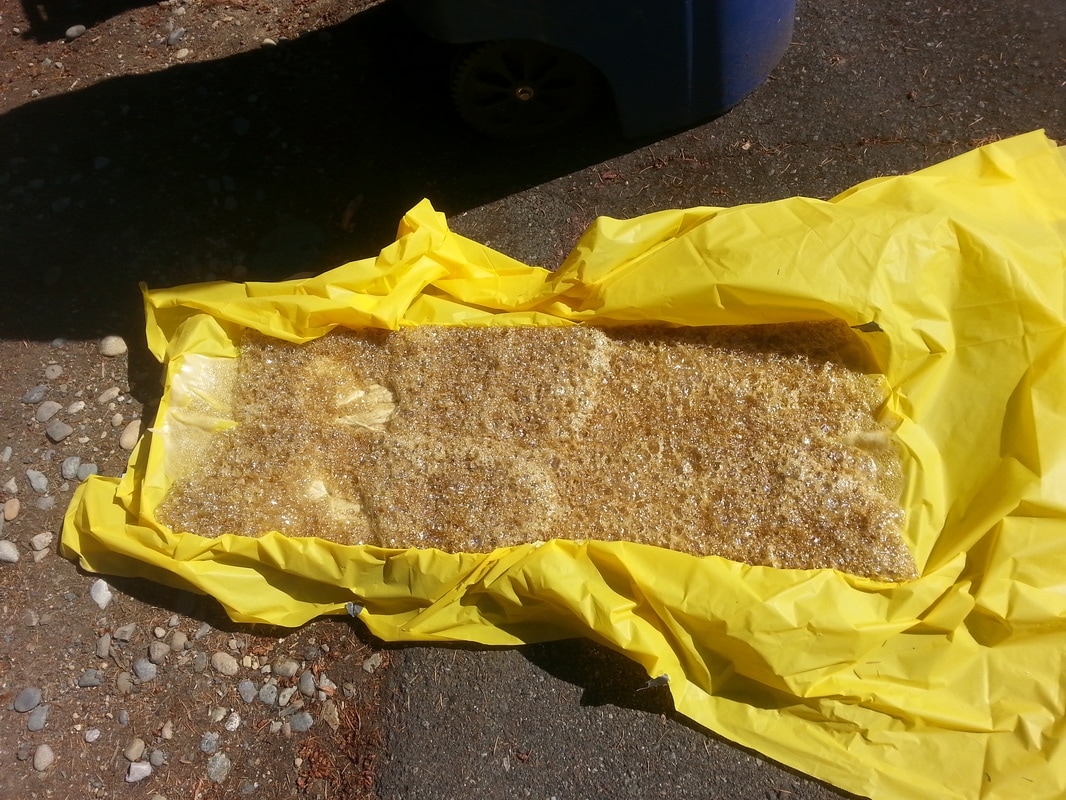 After reordering the liquid urethane foam, I made a second more successful attempt. I first laid some wood sticks in the bottom through the limber holes in the bench to keep them clear and allow water to flow to the back. I then laid in my plastic sheeting and poured the foam in two stages. The reason for breaking the pours up into two stages was firstly, to ensure I didn’t have a major overflow, and secondly, to prevent it from heating up too much. The expansion of the urethane foam is exothermic and, if you’re not careful and pour too large a quantity the excess heat will degrade the foam and yield a more dense foam than expected. When I was working at the Pacific Marine Environmental Laboratory on the TOA buoys we always poured in multiple stages. The buoys were just giant fiberglass donuts (the original mold was based off of an over inflated truck inner-tube) that were then filled with poured urethane foam. Initially they were doing this in one pour, but found that they were getting a lot of heat (so much that they worried about fire) and far denser foam than expected.
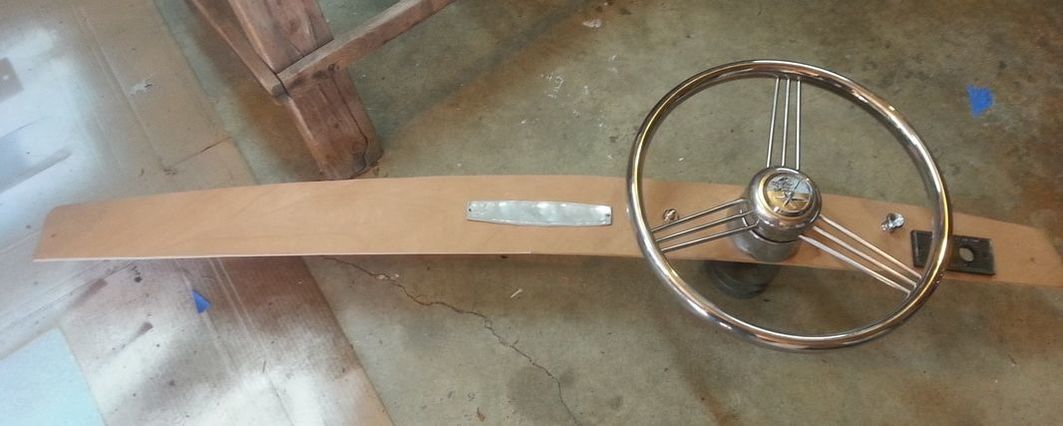
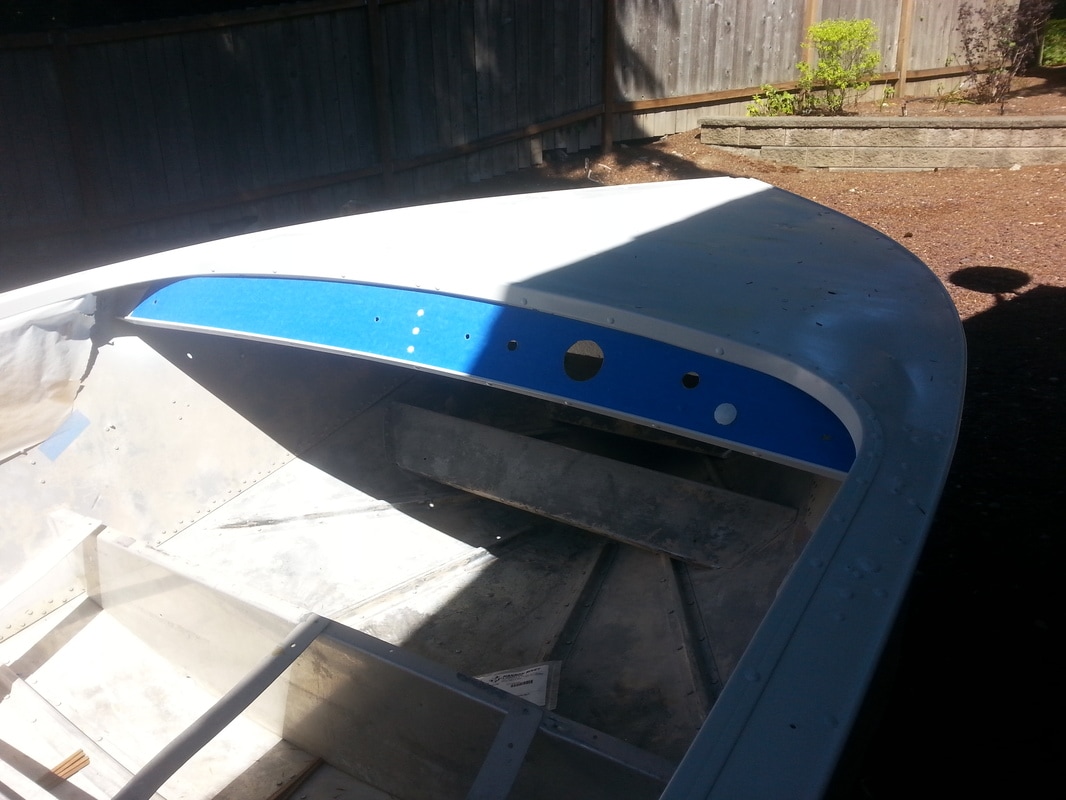
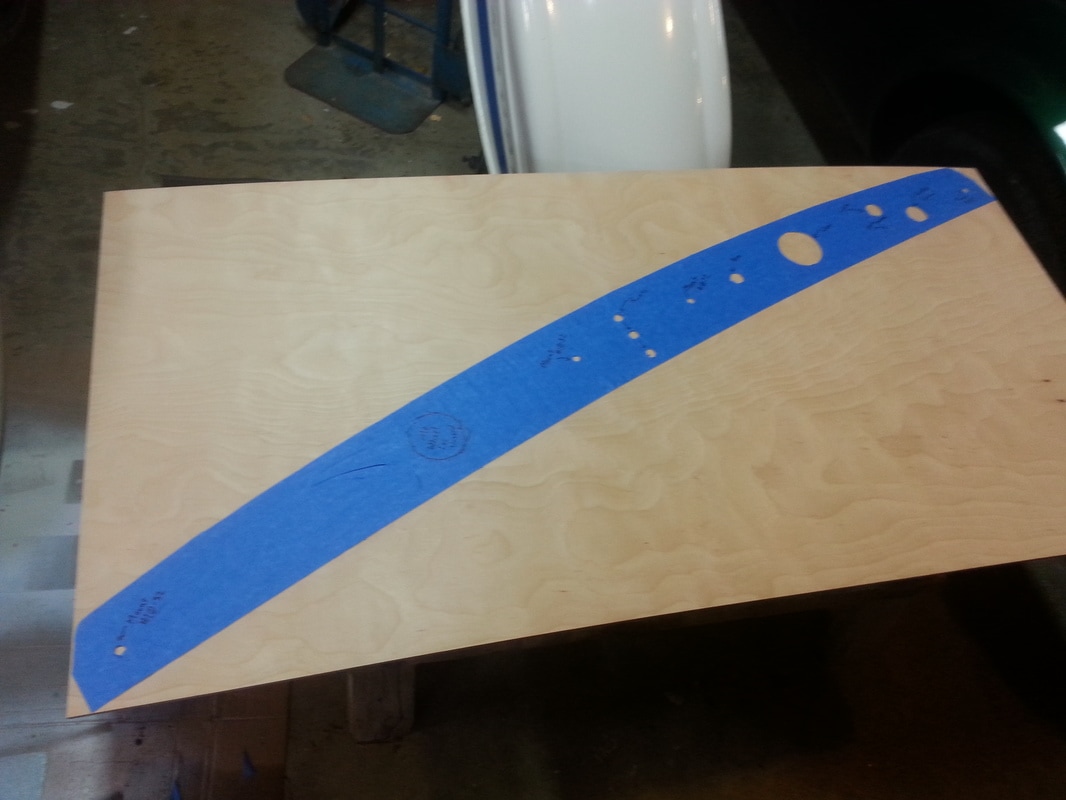
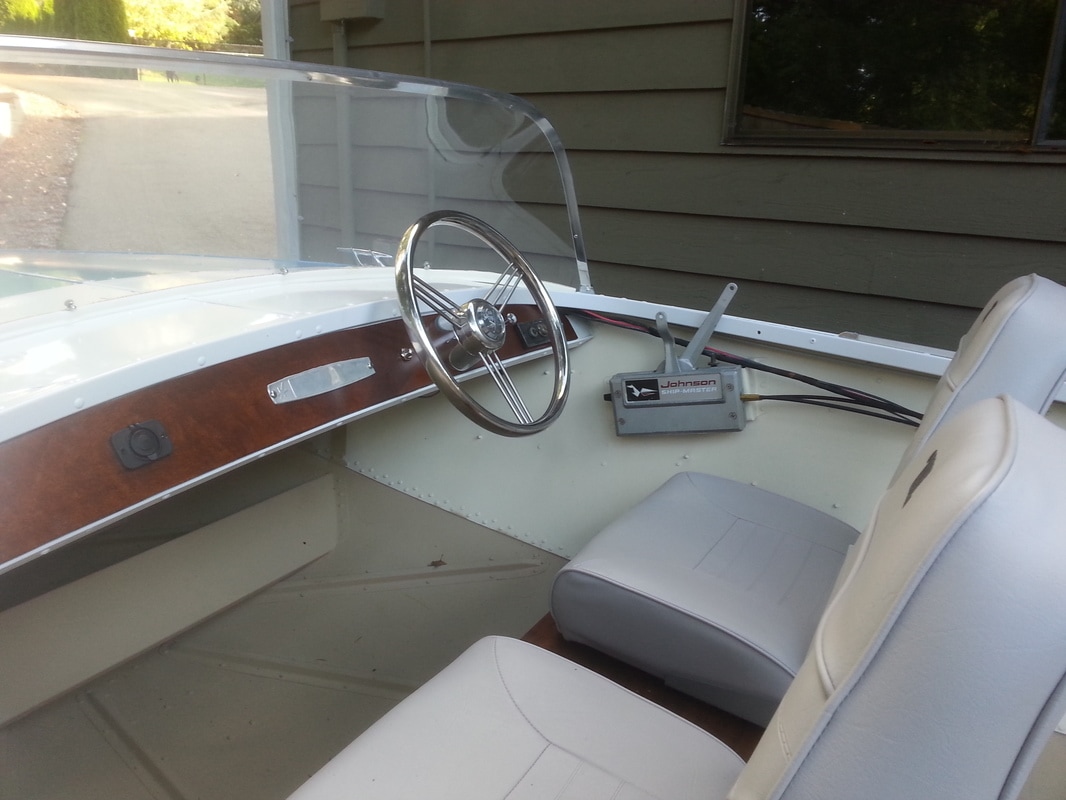
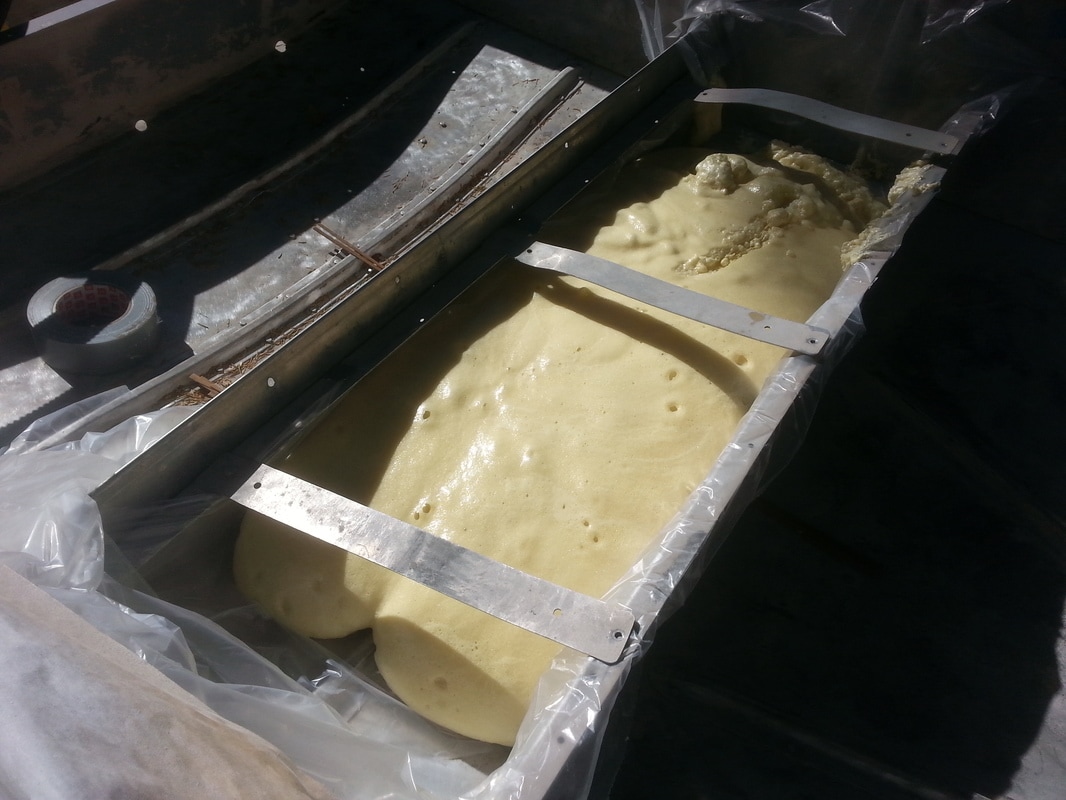 With such a small pour as this, it’s unlikely that there would have been a problem, but better safe than sorry. Even with the precautions, I may have gotten a little over zealous with the second pour, but nothing a serrated knife couldn't fix. 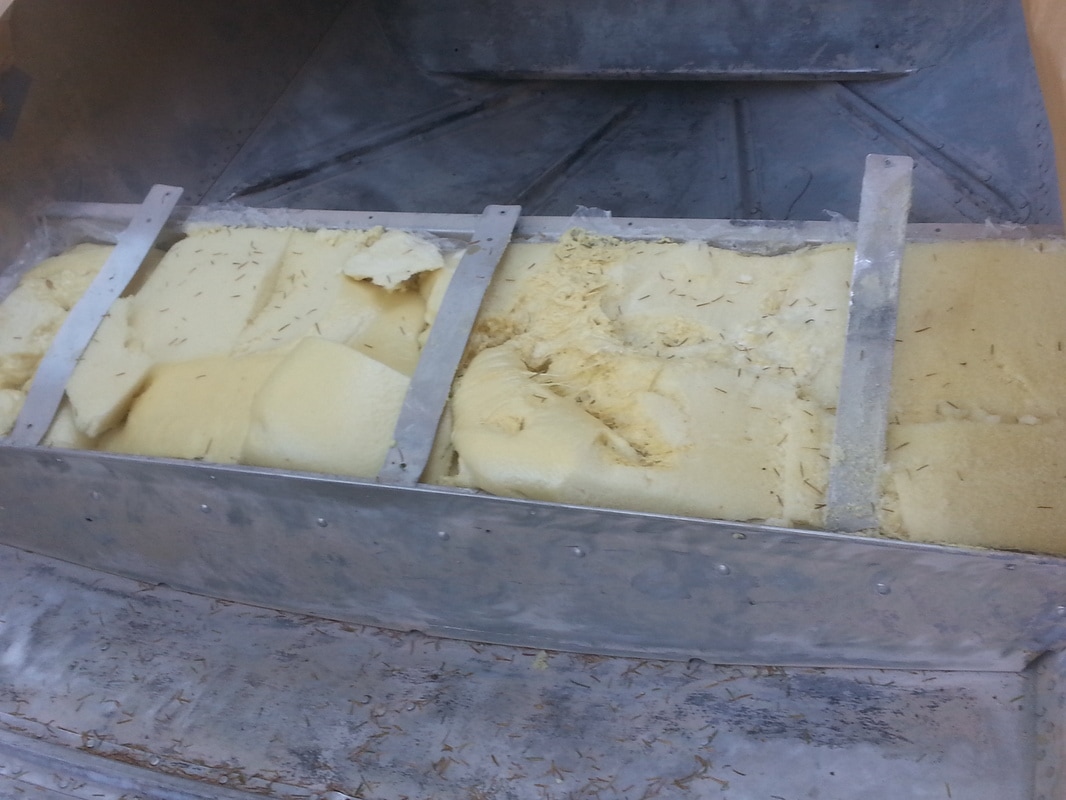 Once the floatation was in and I got the interior painted, I was able to show off my skills, or lack thereof, in carpentry. I debated adding wood to this aluminum boat; I'm not a huge fan of the maintenance that goes with bright work, but it seemed appropriate for this boat. The wood adds a lot of beauty to the boat and I don't think the dash board and bench tops will be too much of a maintenance headache; if they are, I can always remove and replace them with HDPE (high density polyethylene, commonly called Starboard) in the future. In order to make the dashboard, I created a tape template of the dash by laying up several layers of masking tape onto the dash and then just peeling it off. I then used my template to cut the 1/8-in thick mahogany plywood to size and transfer the necessary holes for switches, steering wheel, and mounting hardware. I planned to through bolt it in four spots for final mounting.
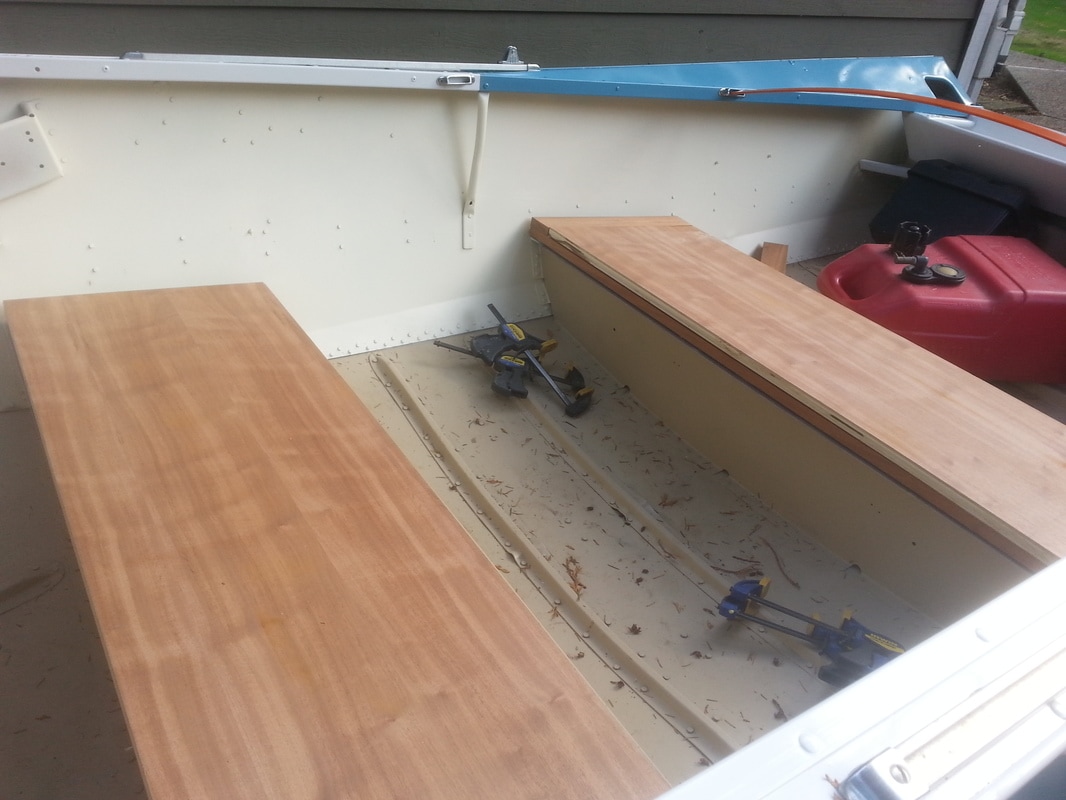
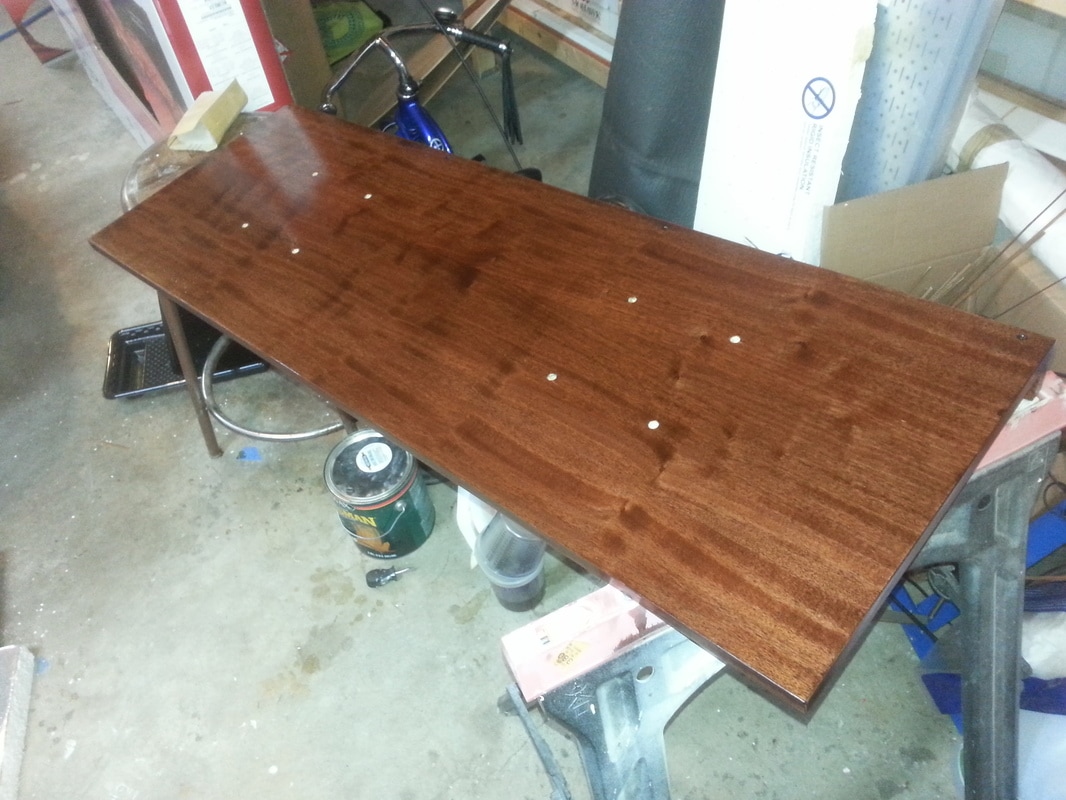
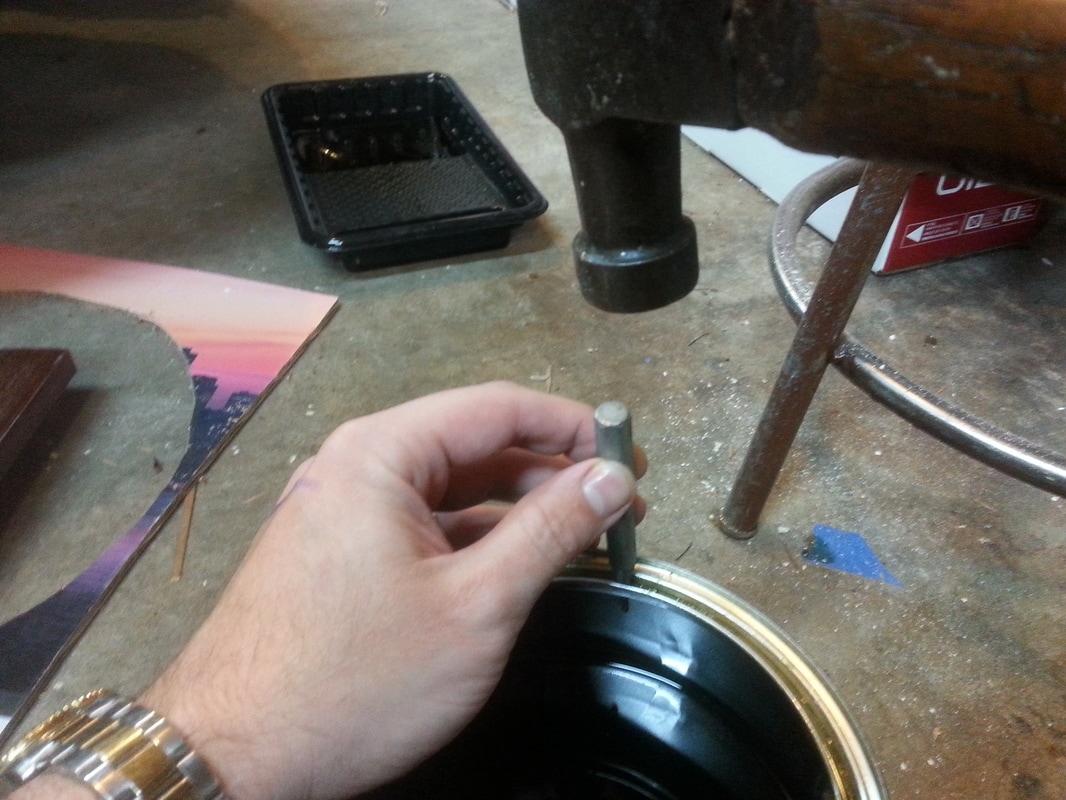
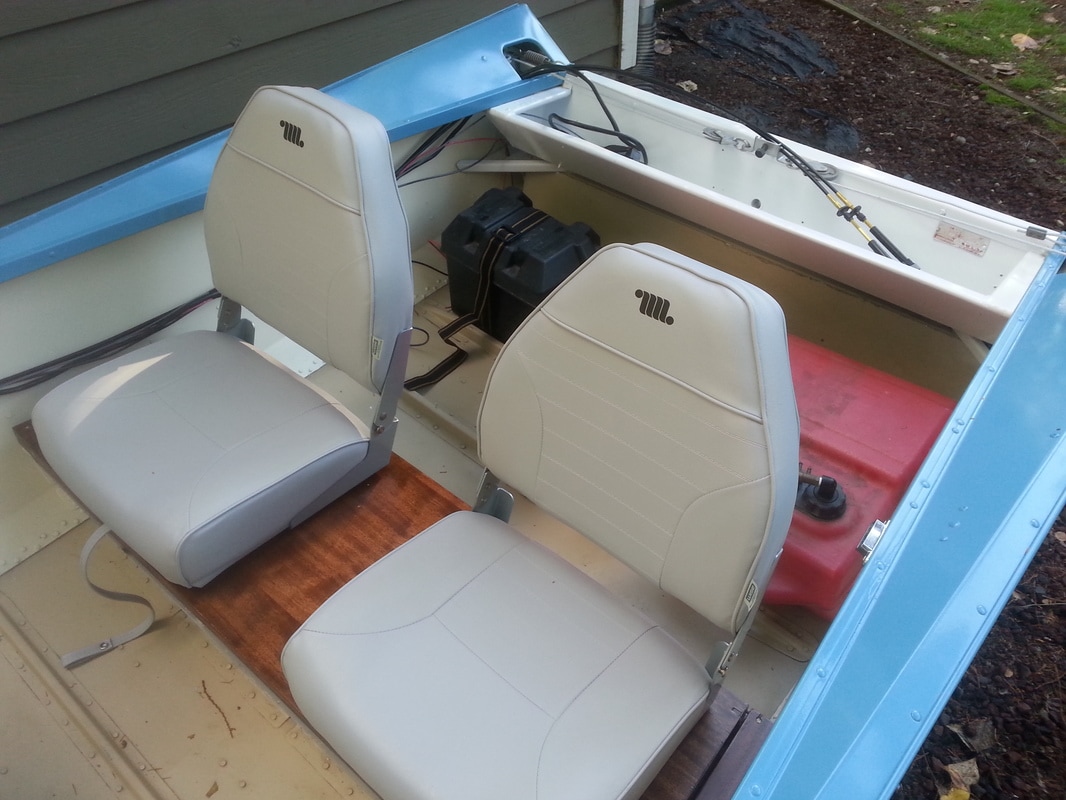
 I fabricated the seat bench tops, to which I attached standard marine folding seats, out of mahogany (both solid and ¾-in plywood). Fabrication was fairly straightforward, just measure once and cut three or four time…wait, that’s not the saying. That might have explained some of my snafus. In any case, I cut all my lumber to size and then faced the decision on how best to glue and screw them together. I was torn between doing it the easy way and having visible fasteners (i.e. screw heads) holding the bench tops together or going the extra mile and putting them together with hidden fasteners. It would be easy to clamp them and glue and screw them in place, but then the screws would be visible. Alternately, I could pull them out and fasten them together from underneath so that you can't see the screws, but keeping the geometry correct out of the boat so that they go back in without an issue would be a lot trickier. In the end I went with the easy way, but I bought brass screws and called them a nautical detail. On the plywood sections, which were the whole bench-top in front and the opening lid on the back bench, I needed to cover up the end grains of the plywood. I purchased some iron on mahogany veneer and went to work wrapping all the edges. It was pretty easy, just cut to length, iron in place, and then trim off the excess with the trim tool that I purchased along with the veneer.
Once the fabrication was done, it was time to move on to staining and varnishing. I used all Minwax products, since they are readily available from the local big box store. I seem to be fond of saying this, but I am not an expert and that is especially true of painting and finishing. Most of what I know I learned from the internet and reading the literature with the products I bought, though I do have some experience in this area that I can contribute. Staining is relatively simple. I went with Minwax Mahogany stain to give the mahogany a richer color. The staining process went something like this.
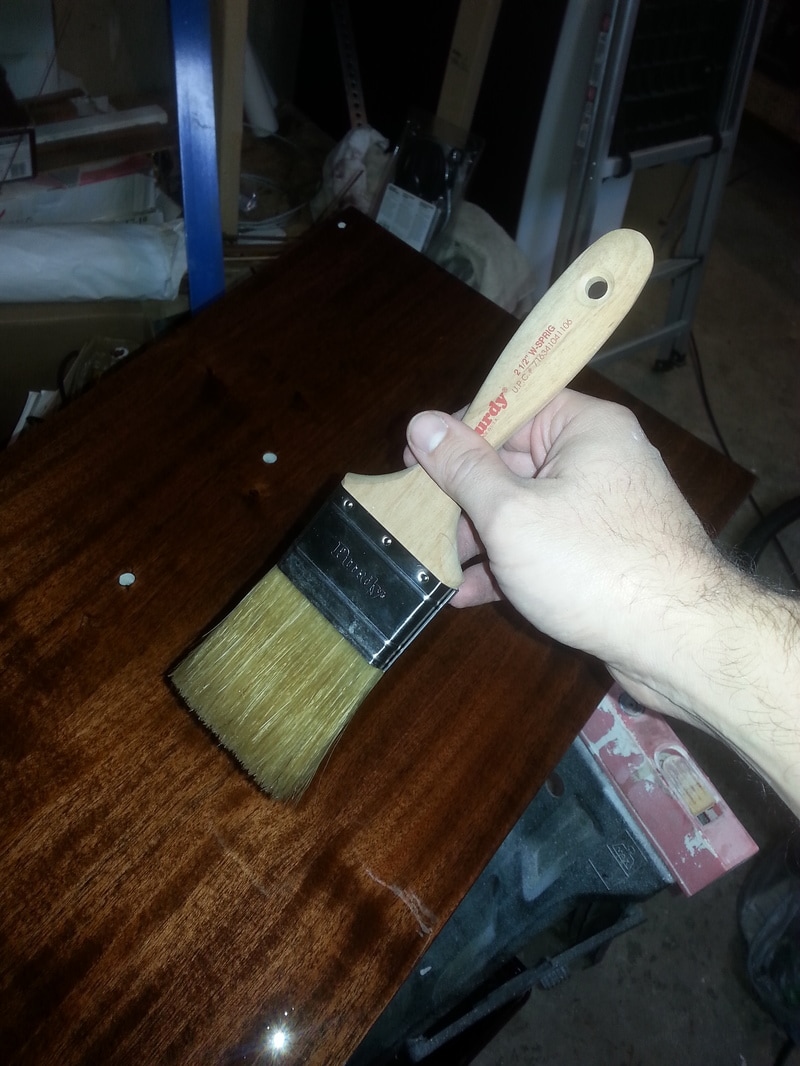
Once I had everything stained, I had to wait the prescribed dry time before moving on to varnish. In this case, the prescribed time wasn’t long enough since it was an unseasonably cold day and extremely rainy (I know, who would have expected that in the Northwest). I had to wait about double the dry time until the stain was dry, which can be tested by wiping the surface with a clean cloth and getting little to no color transfer. Once that was done, I got to move on to varnishing. Varnishing the seat tops and dash were a very slow process with all the rain and cold; as mentioned above, recommended dry times aren't so accurate when it's this cold and wet. I doubled them and still ran into soft varnish when I went to sand the first time. I used Minwax Helmsman Spar Varnish and the can recommends three coats with 4-hour dry time in between, but I went overboard and went with 5-6 coats total with a full 24-hours in between coats. My varnishing process went something like this:
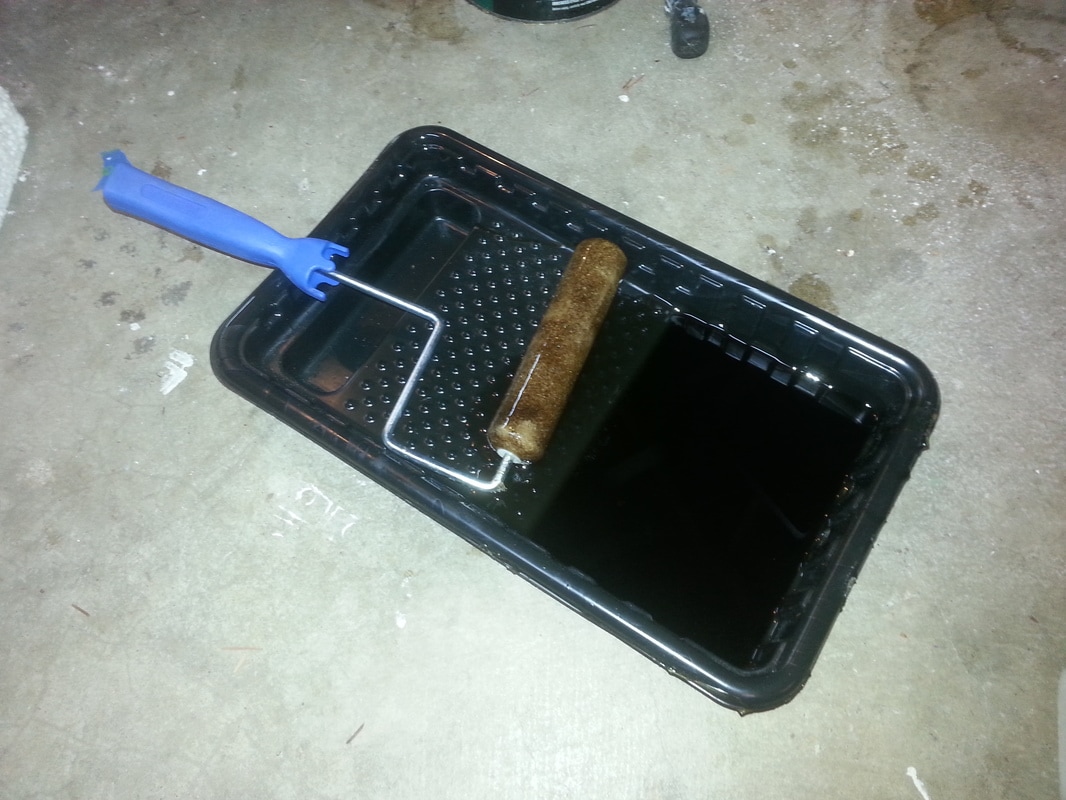
I did manage to pick up a few cool tricks and tips along the way. Firstly, after mixing your varnish (never shake) it's a good idea to pass it through a filter to make sure there aren't any particulates in the mixture that will show up as flaws once you've laid down the coat; paint strainers are fairly cheap and readily available. Secondly, in order to prevent varnish from sitting in the rim of your can and sealing the lid on, you can punch a few holes in the bottom of the rim to allow the varnish to drain back into the bucket (I can't believe it took me this long in life to learn that). Third, as I mentioned above, it's better to apply your varnish with a foam roller in order to get a more even coat, which you can then tip with a good quality badger hair brush to get to lay down smooth. Forth, this is for all the skinflints out there like me, in order to reused your foam roller from coat to coat you can wrap it in a plastic bag getting all the air out you can and sealing it as well as possible.
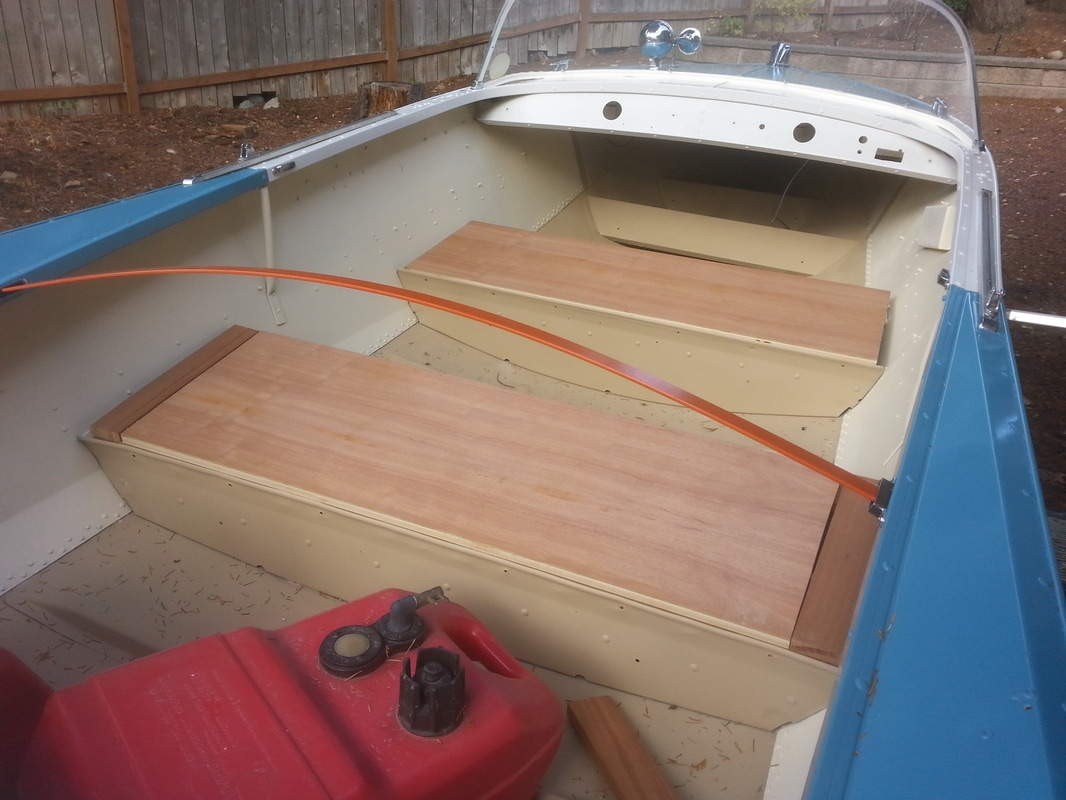
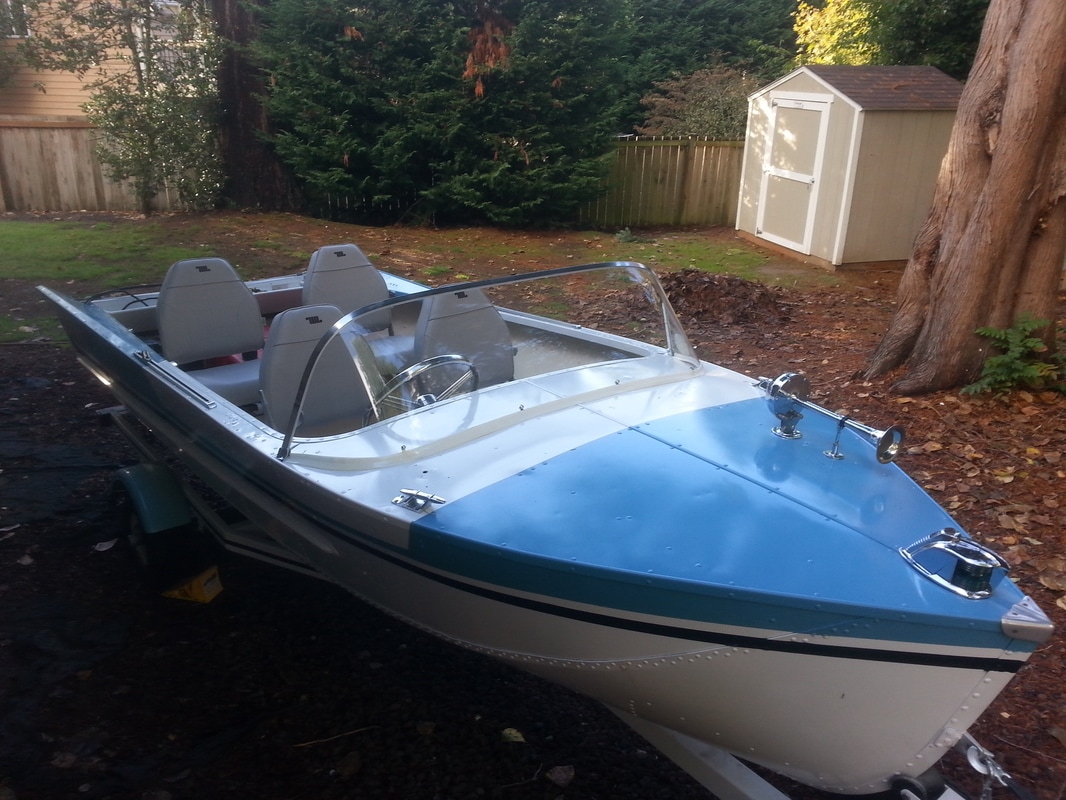
Keeping your varnished bright work looking good is not a once and done kind of thing; you will have to maintain it every year, which is why I was slightly dubious about putting it on this otherwise low maintenance boat. At the beginning of every season, starting with this one, I will have to apply another coat of varnish. That will mean removing the wood, rubbing it down with a fine grit sandpaper, and rolling and tipping it. If you don’t keep on top of this and the finish starts to go, it’s already too late and the only solution is to strip it down to bare wood and start from scratch…we’ll see how long I can keep that up. Once the varnishing was done, it was time to really start assembling the boat, which is where I really start to have fun as I see the finished project start to take shape. I made sure that all my hardware was stainless steel (except for the “decorative” brass screws I used to build the benchtops). The fold down seats were through bolted to the bench tops and then the bench tops were screwed down to mount on the bench supports. The dashboard was mounted with four screws; two dedicated mounting screws on the outside and the two mounting screws for the name plate. Regrettably, the dash nameplate was sun bleached to bare aluminum when I got it, but a contact over at the Lone Star Yahoo Group was nice enough to provide me with an image of his dash plate that was in slightly better condition. I’m looking to get the lettering reproduced as a decal, but haven’t yet found someone that can do it. I installed the switches and a 12-V power outlet, but that will be covered in another post. I then moved on to the steering wheel. 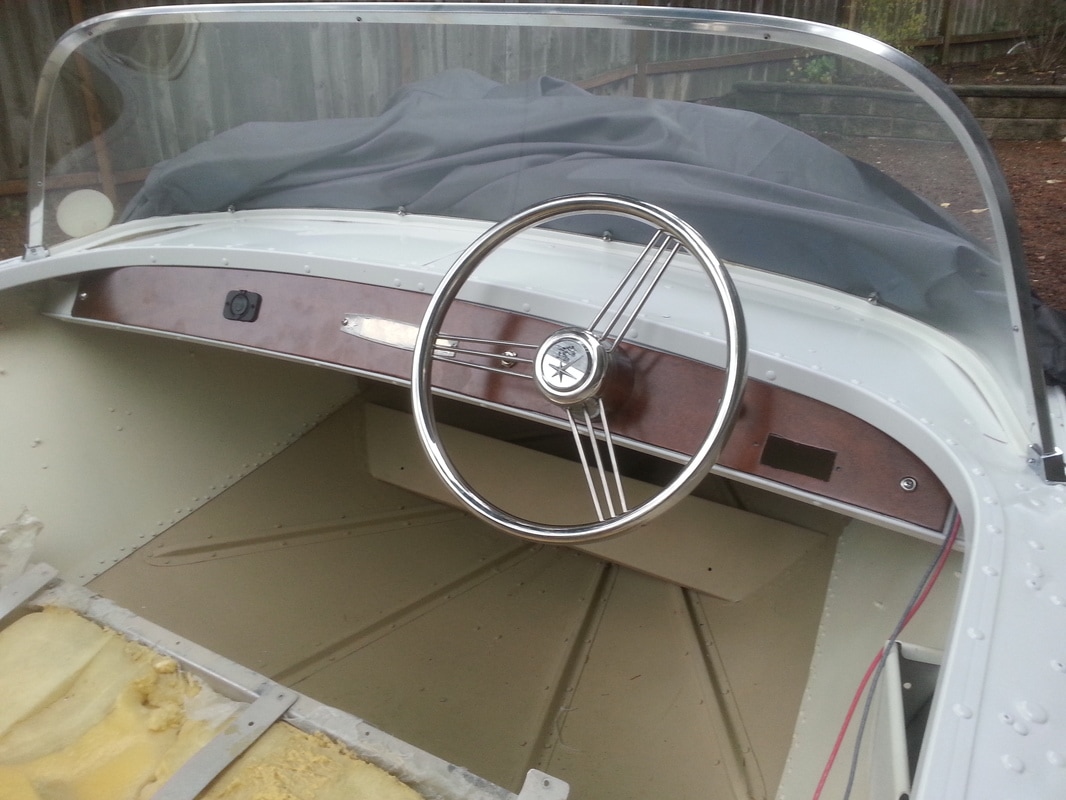 I would have liked to have used the original steering wheel and planned to restore it, but it was too far gone. I purchased a new chrome steering wheel and mounted it to the old steering shaft for the pulley steering system. I also managed to salvage the Lone Star center cover and attach it to the new wheel. I replaced the cable and re-rove it to get my steering system set up. If you’re not familiar with a cable and pulley steering system, I think it’s best described in one of my famous paint diagrams. 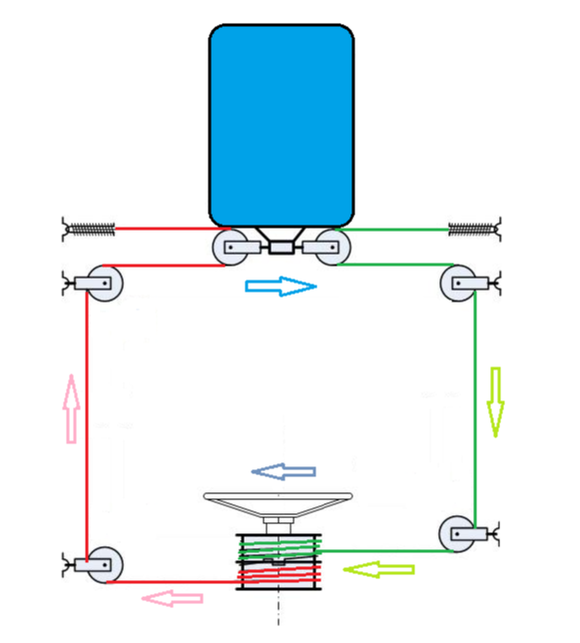
Turning the wheel to the right will rotate the drum of cable, which releases cable on the starboard side and tightens the cable on the port side. That moves the front connection point of the engine to the left, thus pushing your stern to the left and turning you to the right. I just had to mount the engine and install the control box with new control cables to have a fully operational boat. The chrome pieces were all in reasonably good condition and, aside from reworking some of the electronics, I just had to remember where they all went. My wife bought me a new old stock Taylormade acrylic windshield that fit just about perfectly. And with the addition of a few vinyl decals and the registration number, I had something that could pass for a boat.
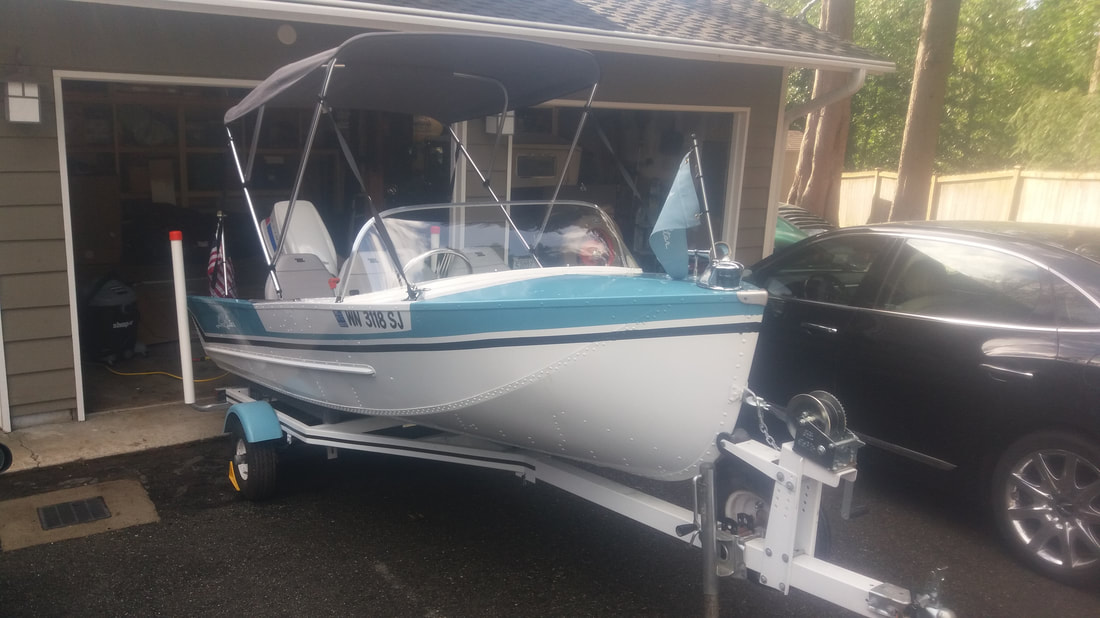 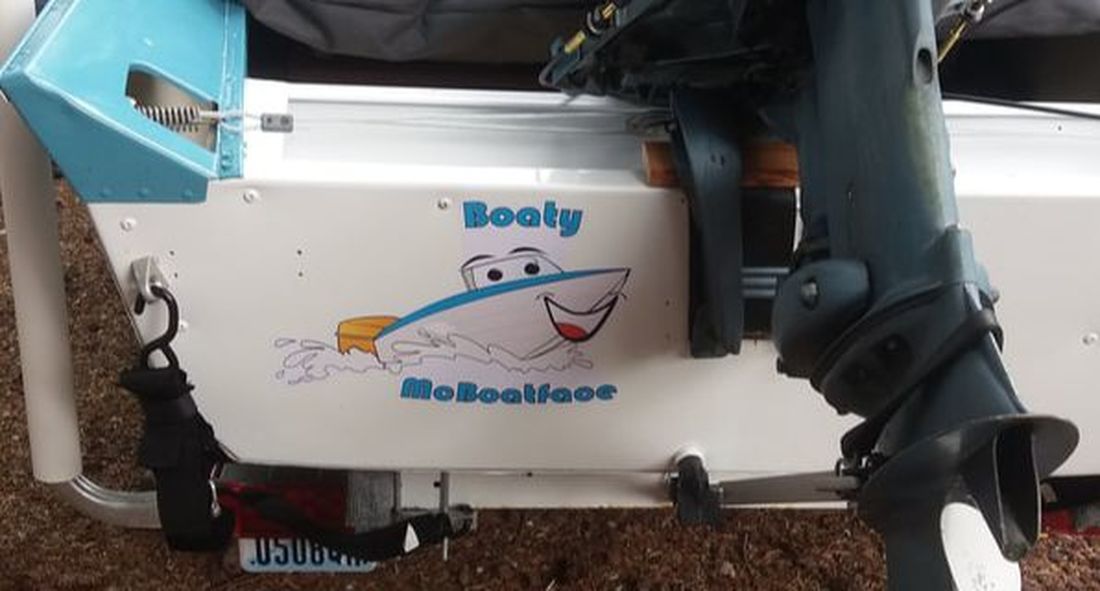 I wouldn’t call this a true restoration, but it is fairly period correct and met my desires for a cool runabout that would turn a few heads for a very reasonable amount of money. While it’s close to "finished," I've learned that as long as I have a boat, I will always have a project or two that still needs doing.
Until next time, here’s wishing you fair winds and following seas.
4 Comments
Ben H.
2/10/2020 12:39:51
I know this post is several years old but I really wanted to try to get in touch with you. I am in Colorado and just acquired a 1959 Lone Star Malibu. I was able to id the year based on your post, so thank you for that. Your detailed steps are definitely going to help guide me on my restoration. A couple of initial questions I was hoping you could help with. What paint did you use for the top coat? Does it have to be aluminum specific marine paint since the primers are? Or do they create enough of a barrier that any marine paint will do? P.S.; I thoroughly enjoy your puns!
Brent J Pounds
2/10/2020 17:38:54
I would not follow my painting procedure, which I note in my post about painting. I used spray paint and the results were okay, but if I had to do it again I would opt to paint it with a spray gun. Once you get a good aluminium primer down you should be fine with top-coating with any compatible paint. I got a lot of good painting tips over on tinboats.net.
TheRedDawg
9/22/2020 17:32:15
Hey where’d you get the Bimini for the LoneStar Malibu?
Brent J Pounds
9/22/2020 19:02:03
I can't find the exact bimini top that I ordered, but it was a generic bimini top I found on Amazon like the one linked here in the appropriate width range: https://smile.amazon.com/Naviskin-Pacific-Mounting-Hardwares-Aluminum/dp/B019PR53IC Leave a Reply. |
AuthorBrent Pounds has over a decade of experience in the maritime industry and has been involved in recreations boating since he was a child. See the About section for more detailed information. Archives
October 2016
Categories
All
|

 RSS Feed